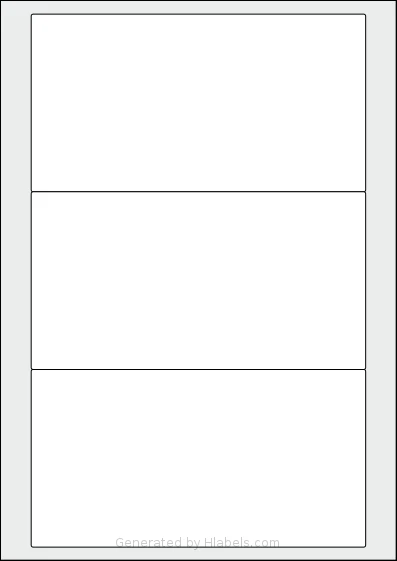
Use Google Docs & Sheets to create and print labels on Flexilabels® FK3

Start a new Google document. The Hlabels add-on will adjust its dimensions to match a single label: 177.0 x 94.0 millimeters. More info

Start a new Google document. The Hlabels add-on will adjust its dimensions to match a single label: 177.0 x 94.0 millimeters. More info
Hlabels.com has developed a Google Docs™ and Sheets™ extension (add-on) called "Label Sheets & Rolls".
You can find it in the Google Workspace Marketplace,
by typing its name into the "Search apps" box.
This add-on helps you print label content on standard or custom label sheets, in any quantity, saving you from manually dealing with label templates, copy-pasting, and alignment issues.
To create labels in Google Docs™ and print them on the Flexilabels® FK3 template, click the button above and follow the steps below.
If your label data is contained in the rows of a Google Sheet and the layout requires only basic text formatting, it is simpler to use the Hlabels add-on directly within Google Sheets™, rather than importing the data into a Google document. Follow the steps below:
That's it!
The Hlabels add-on will automatically generate a print-ready file.
It will populate up to 3 label positions on the Flexilabels® FK3 template with the content from each label,
based on your layout settings.
You can either print it directly using your inkjet or laser printer, or download the file for later use.
When printing for the first time, it's very likely you'll encounter some alignment issues.
If the shift is small (1–3 mm), use the Offset and Bleed Area settings
in the Hlabels Google Docs™ and Sheets™ extension to correct it, regardless of the root cause.
If the shift is larger or inconsistent among labels, check out Hlabels' comprehensive guide. It lists more than twenty possible causes — ranked by their likelihood — and explains how to diagnose and fix each one.
We respect your privacy and want you to have control over your data. Please choose your preferences: