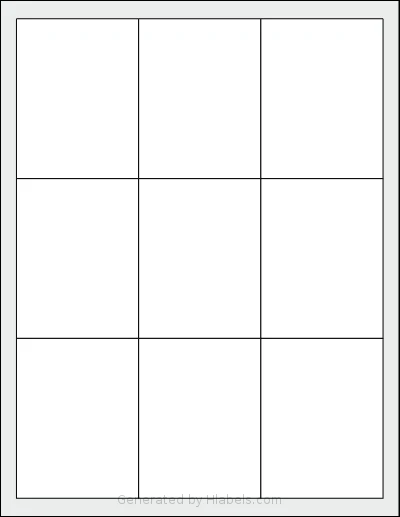
Print your Adobe Express label design on SheetLabels® SL1117

Start an Adobe Express label design with dimensions of: 2.6 x 3.4 inches. More info

Start an Adobe Express label design with dimensions of: 2.6 x 3.4 inches. More info
Hlabels.com has developed an Adobe Express add-on called "Print your own labels".
You can find it by clicking the Add-ons icon and typing its name into the "Search add-ons" box.
Use it to print Adobe Express label designs directly onto label sheets.
No need to switch software or manually copy and paste label designs into each label position, or adjust their alignment by hand.
To print your Adobe Express label designs on the SheetLabels® SL1117 template, click the button above and follow the steps below.
That's it!
Hlabels will automatically generate a print-ready file.
It will populate up to 9 label positions on the SheetLabels® SL1117 template with the content from each label.
You can either print it directly using your inkjet or laser printer, or download the file for later use.
When printing for the first time, it's very likely you'll encounter some alignment issues.
If the shift is small (1–3 mm), use the Offset and Bleed Area settings
in the Hlabels print settings page to correct it, regardless of the root cause.
If the shift is larger or inconsistent among labels, check out Hlabels' comprehensive guide. It lists more than twenty possible causes — ranked by their likelihood — and explains how to diagnose and fix each one.
We respect your privacy and want you to have control over your data. Please choose your preferences: